New Relic One Apps: Datalyzer
We strive to have an out-of-the-box user experience that provides optimal value for all users. But we also know that some organizations have unique business needs that can’t be met with our standard visualization options.
Now, we give you control over the fundamental building blocks of our platform. Using the same tools our engineers use to build New Relic One, you can build custom applications that align with your unique organizational structure and business needs. If you know how to use React, GraphQL, and NRQL (our query language), building an application will take you only a few minutes.
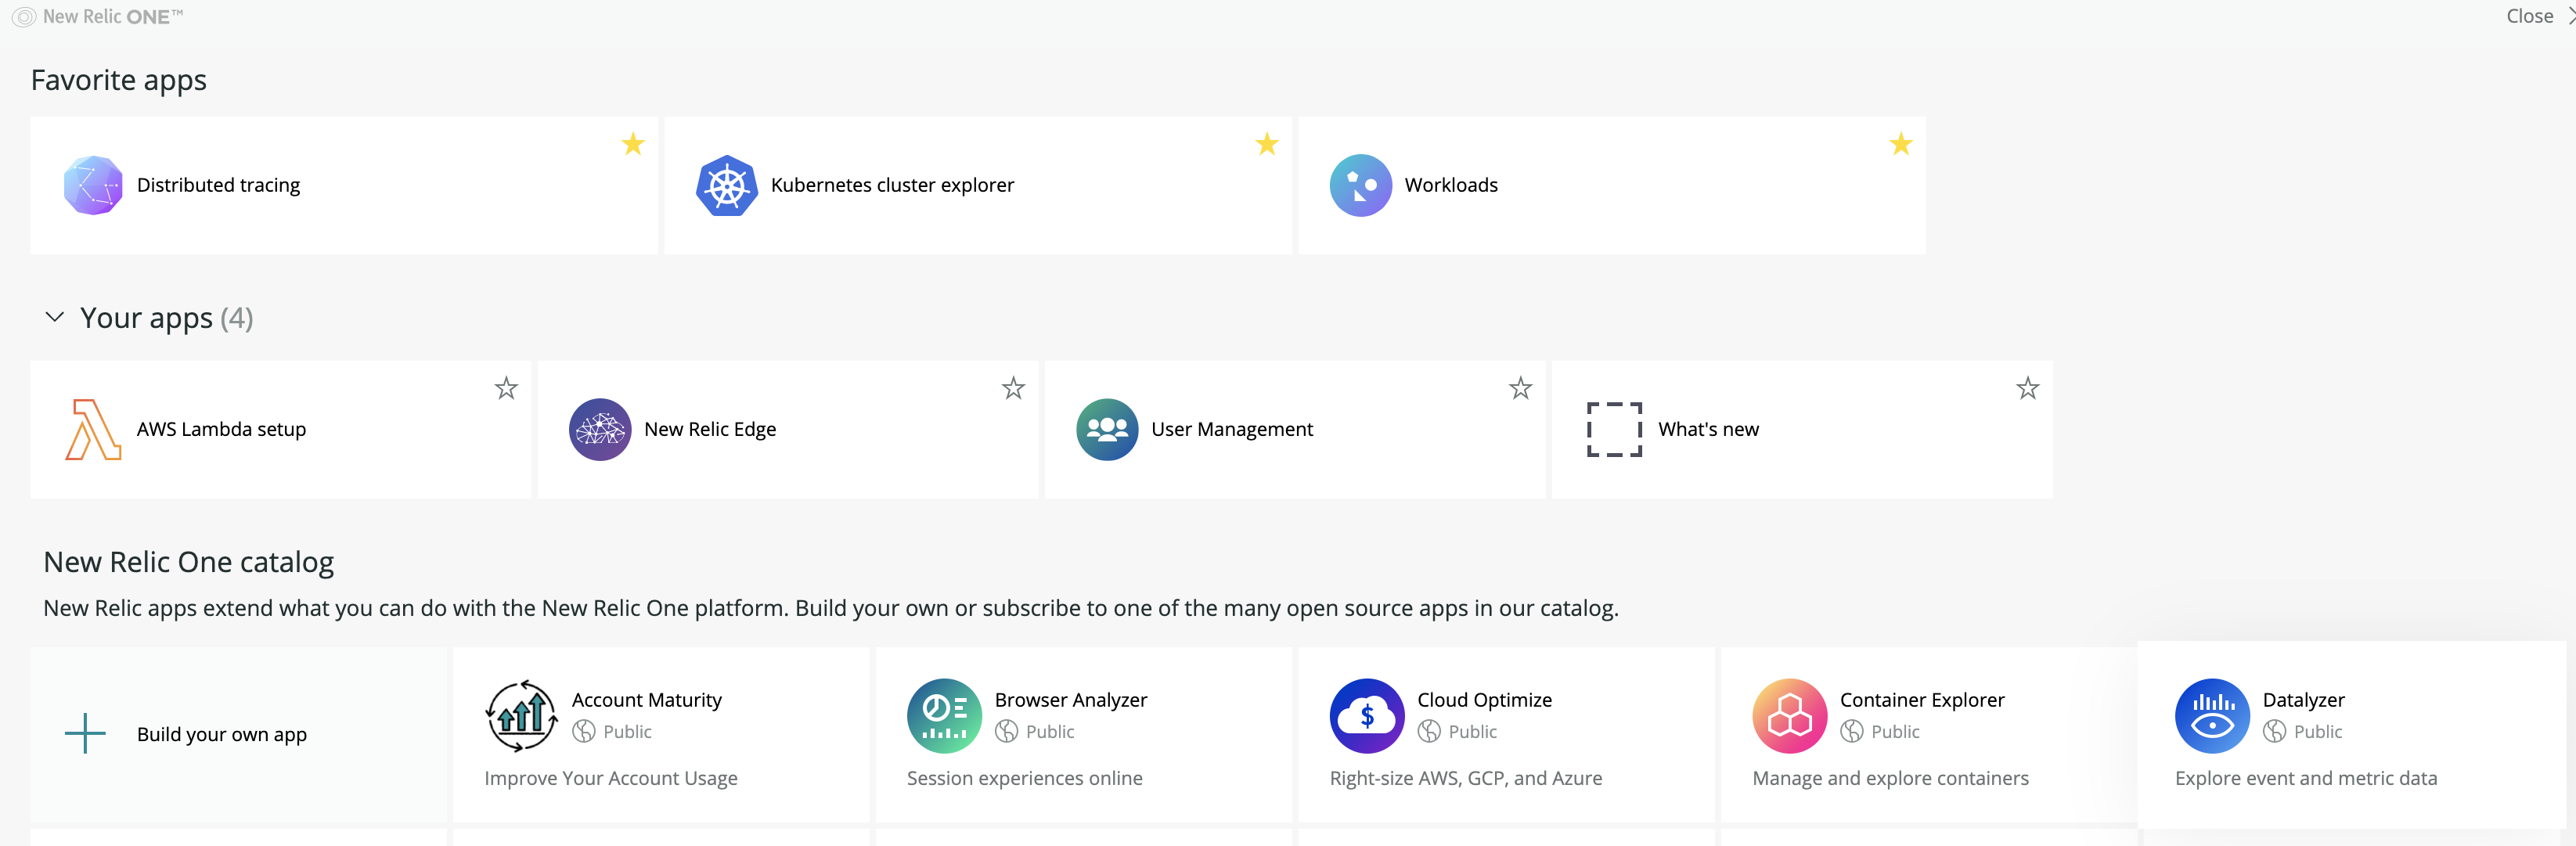
From the New Relic One Apps page, you can review available apps and subscribe to the ones you want for accounts you manage. The Your apps section shows launchers for New Relic apps, as well as any third-party apps that you subscribe to. The New Relic One catalog provides apps that you haven’t subscribed to, some developed by New Relic engineers to provide visualizations we think you’ll want, like Datalyzer, that lets you explore, slice, and dice event and metric data in a simple, fast, and intuitive way.
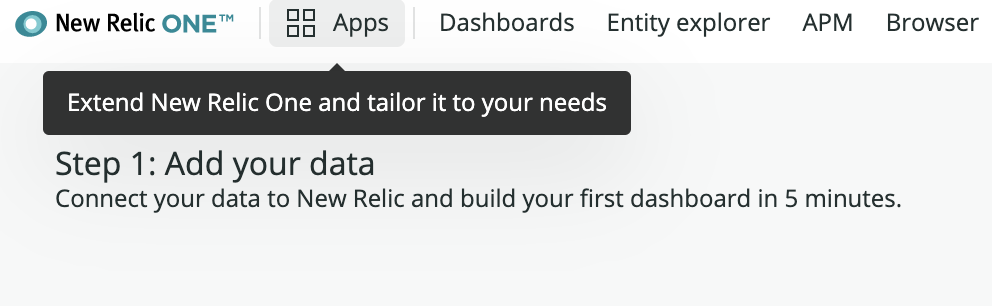
Let’s use Datalyzer to dig into some details about the application we have deployed that the curated APM charts do not provide for us. First, we will need to open another browser tab to the New Relic One homepage and click on the Apps link at the top of the page:
Next, click on the Datalyzer application listing under the New Relic One catalog heading:
Now, click on the Add this app button near the top right hand corner of your screen:

You should now see the Account access page for Datalyzer. From here, click on the checkbox next to your New Relic account number, then click on the Update 1 account button near the top right hand corner of your screen:

You will now be prompted to confirm your decision; click I agree buttom near the bottom right hand side of your screen to continue:

Now, click back over to the Apps page to access your newly installed App:
You should now see Datalyzer listed under the Your apps heading rather than the New Relic One catalog heading; click on Datalyzer to open the app:

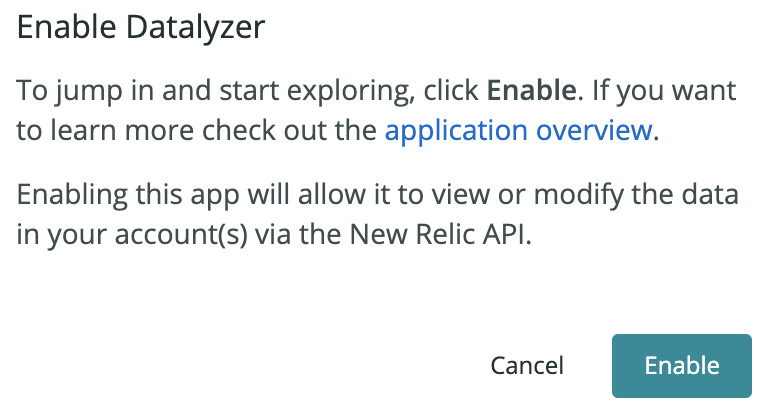
Upon running any New Relic One app for the first time, you will be prompted to enable it. Click the Enable button to do so:
Congratulations! You have installed your first New Relic One app! Now that we are inside the main interface of Datalyzer, let’s click on the Event Type dropdown and select Transaction:
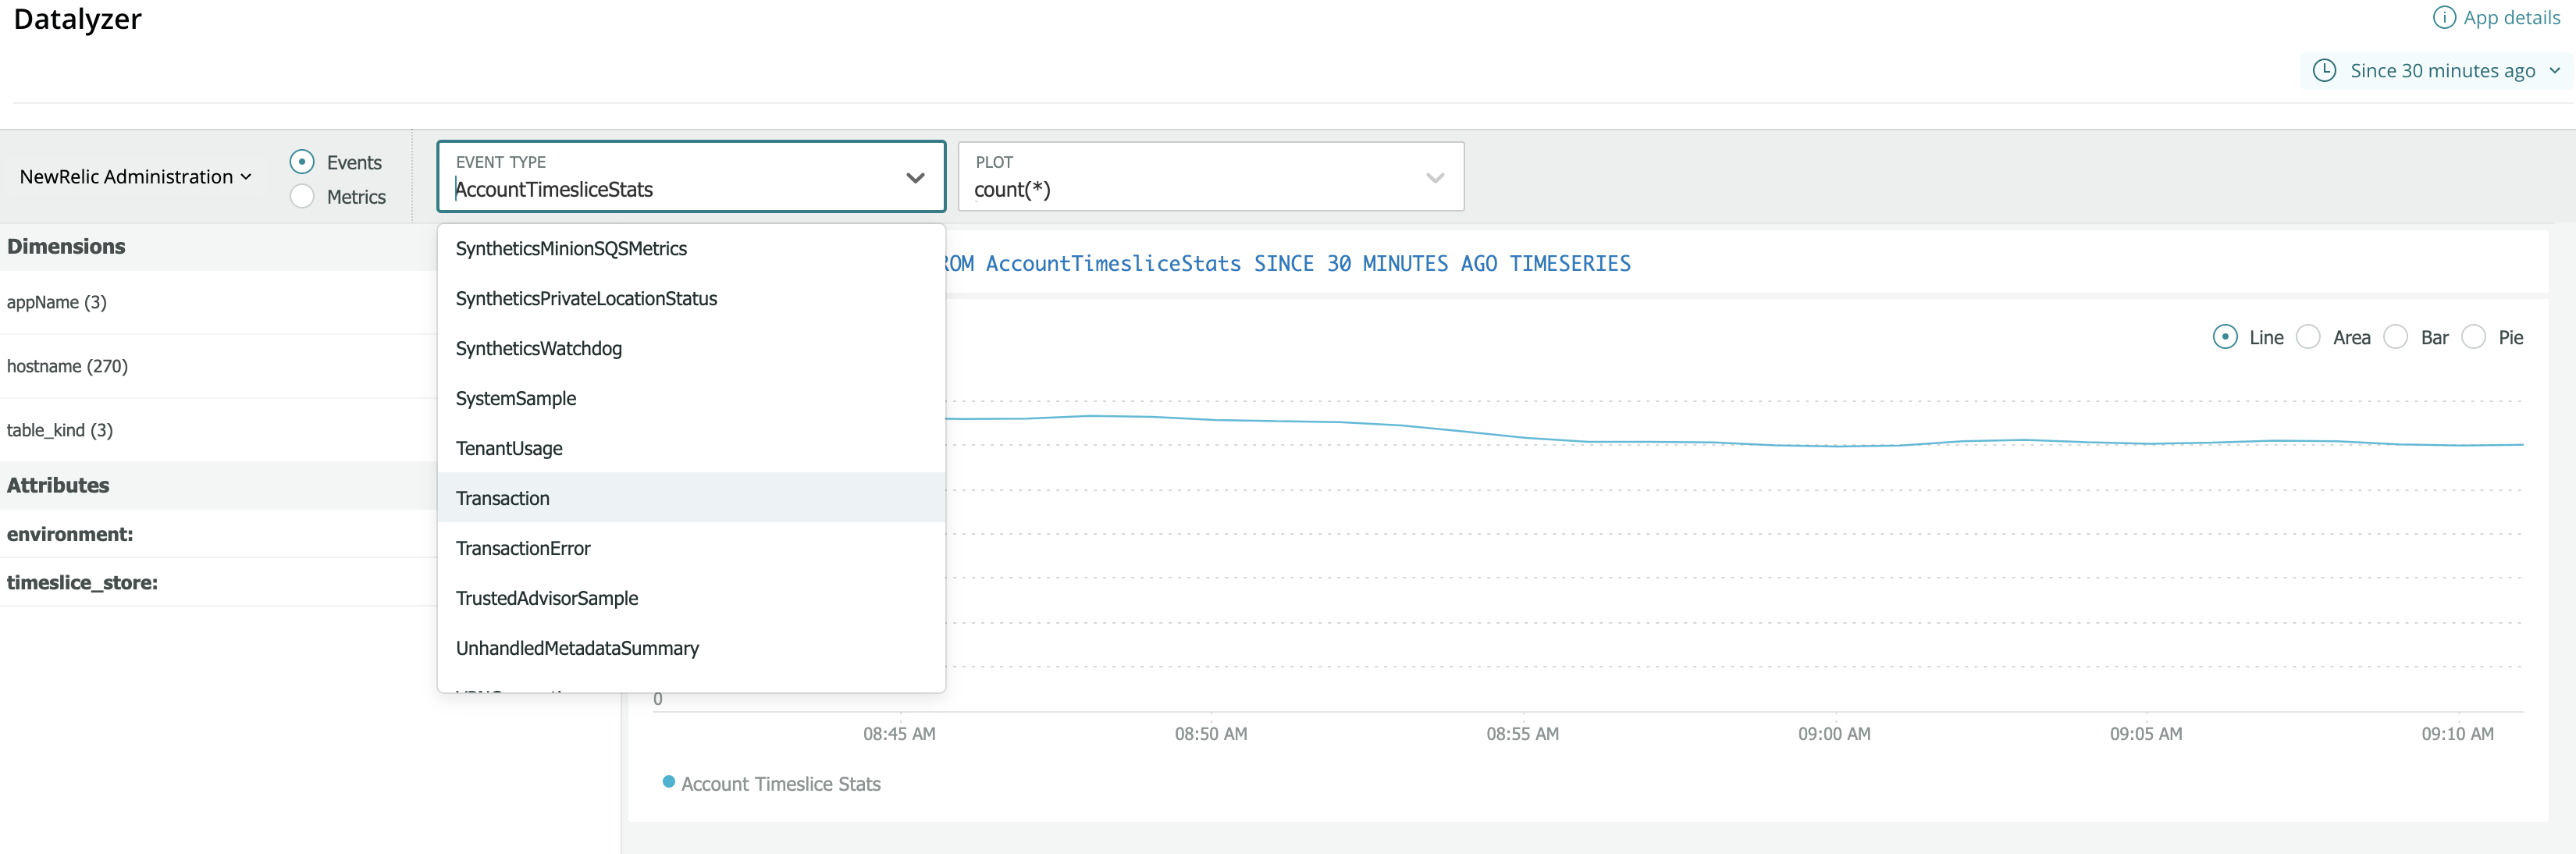
At New Relic, we report events to data objects also called events. These events have multiple attributes (key-value pairs) attached. Event data is used in some UI charts and tables, and you can also query it. How long event data remains available is determined by data retention rules.
One example of an event: APM reports an event type named Transaction, which represents a logical unit of work in an application. We will be using this event type for the remainder of the Workshop.
Now that you have selected the Transaction event type in the dropdown, let’s further drill down by having Datalyzer focus solely on the demo app we have deployed.
Click on appName under the Dimensions tab near the top left hand side of your screen, then click on the New Relic AWS Workshop link in the table on the bottom right hand portion of your screen:

Having selected our specific application as a filter, we will now be presented with a listing of attributes for that application on the left hand side of the screen which include appName, Host, and containerId. On the right, you will be presented with a default chart plotting the transaction count for the application over the past 30 minutes:
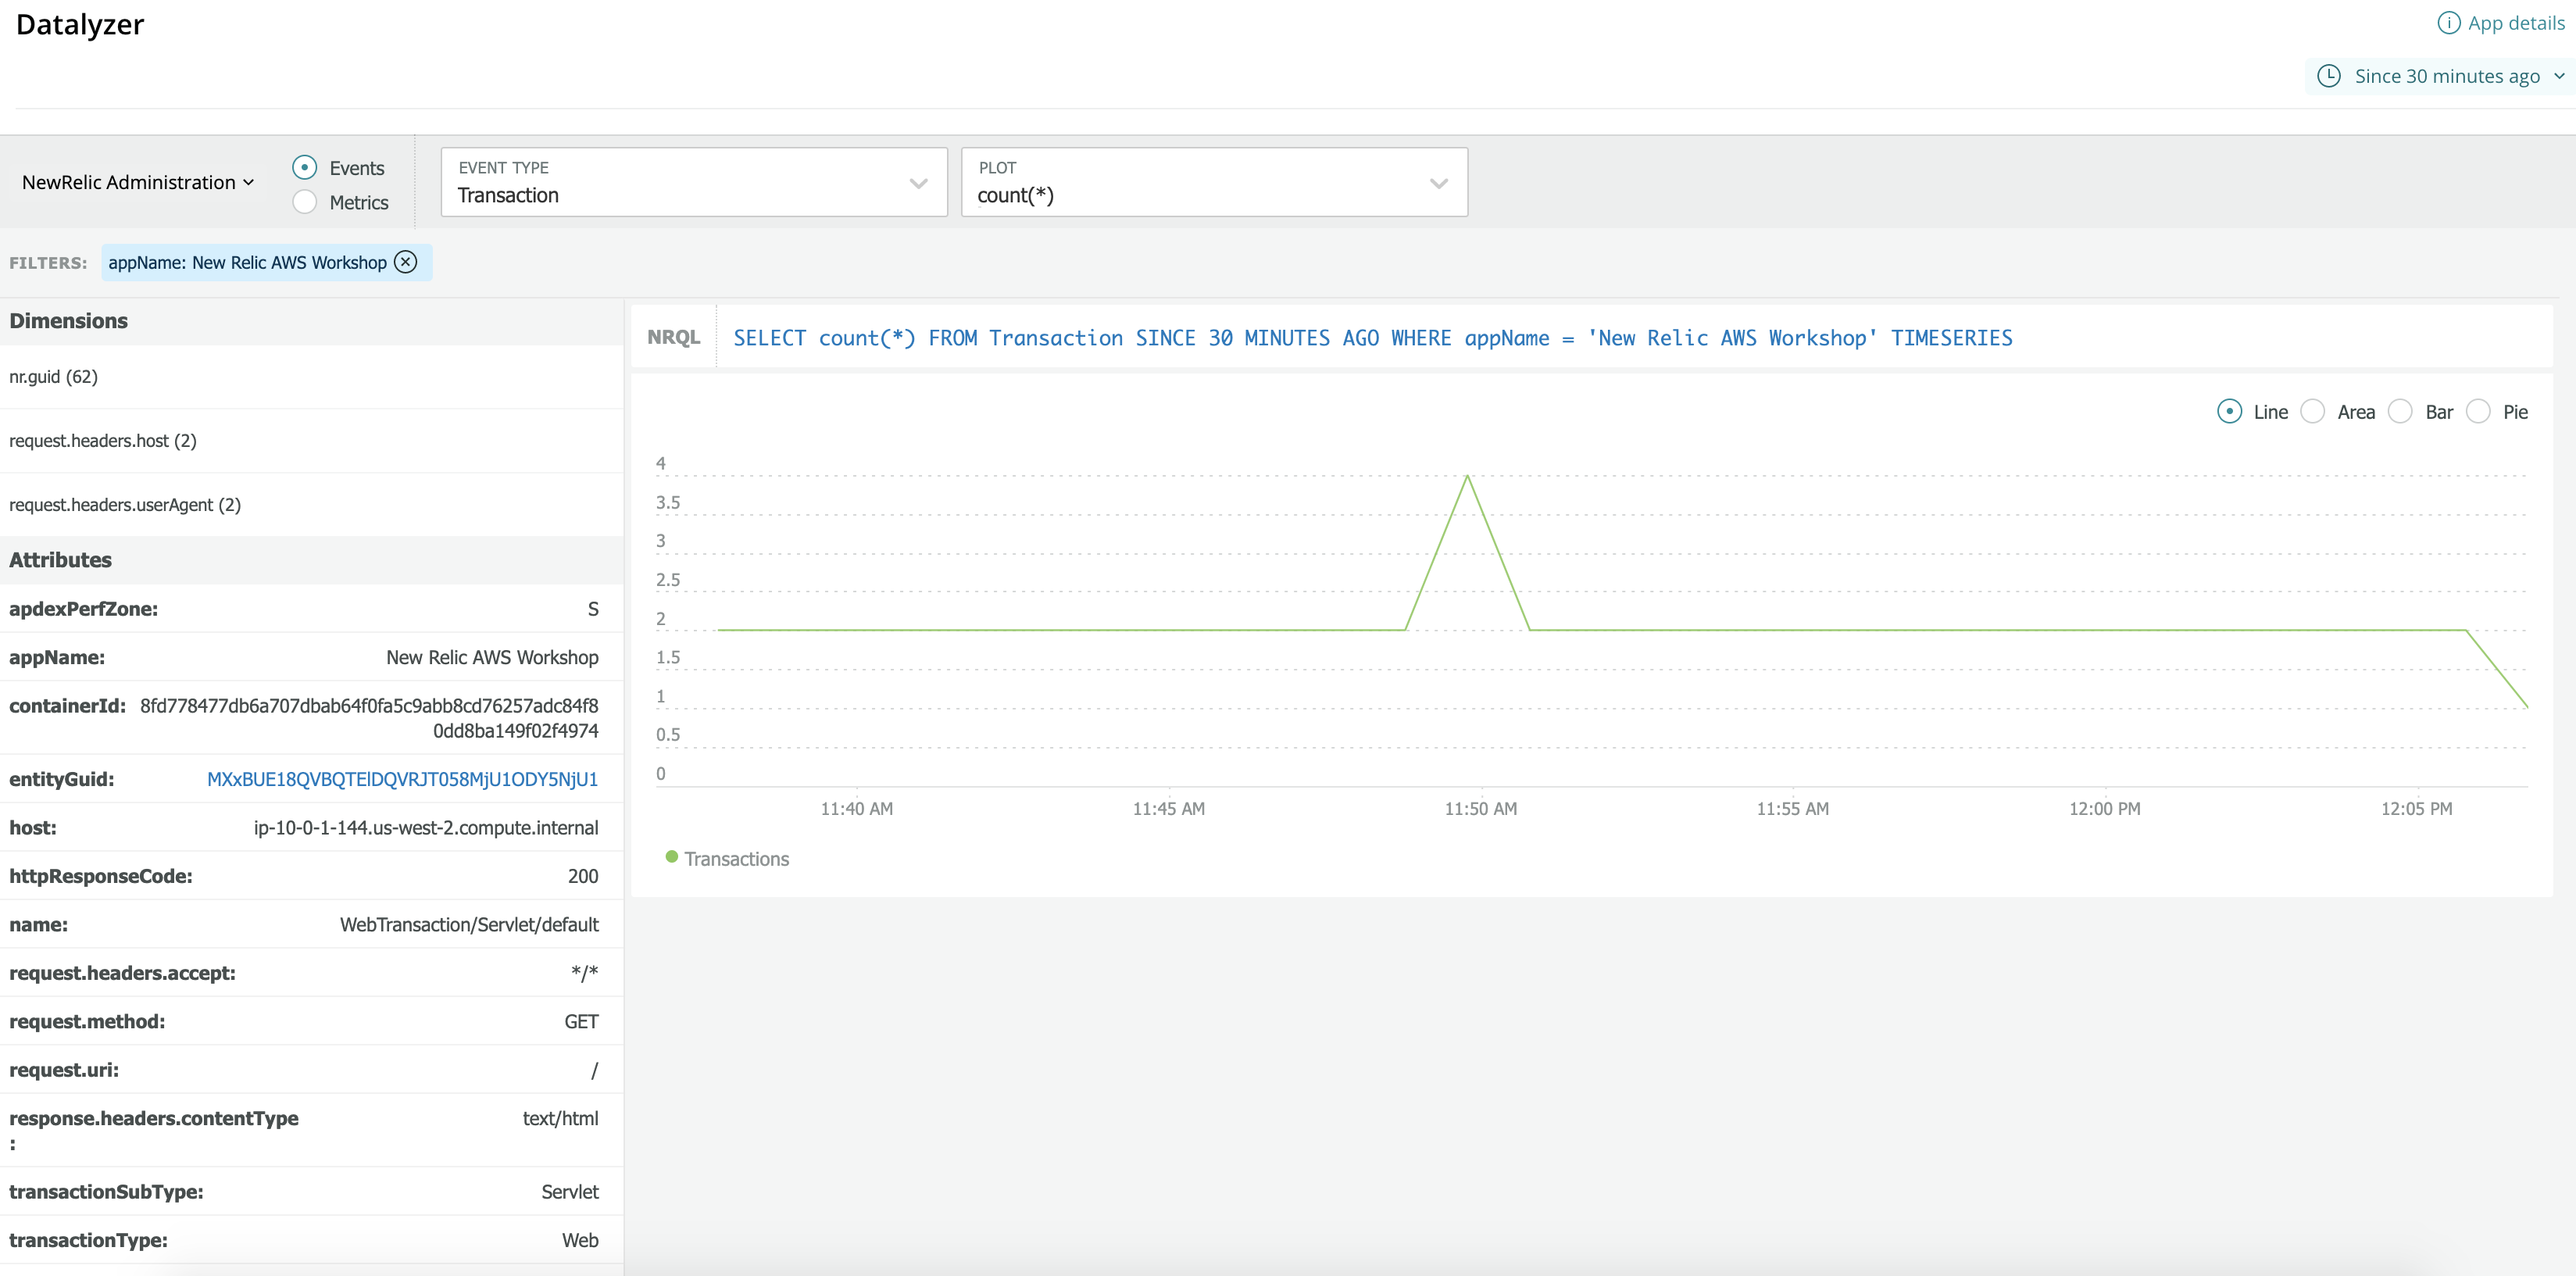
Let’s click on the NRQL query to hop into the Query builder and make some changes:

NRQL is New Relic’s SQL-like query language. You can use NRQL to retrieve detailed New Relic data and get insight into your applications, hosts, and business-important activity. NRQL is used behind the scenes to generate New Relic charts.
Our curated APM charts already show transaction count over time, so let’s modify the query here to give us some different information. Copy the the following text, select the exisiting NRQL query in Query builder, paste over the existing query, and then click the Run button:
FROM Transaction SELECT count(request.uri) SINCE 1 week ago LIMIT MAX FACET request.uri WHERE appName = 'New Relic AWS Workshop'
You should be presented with the following:
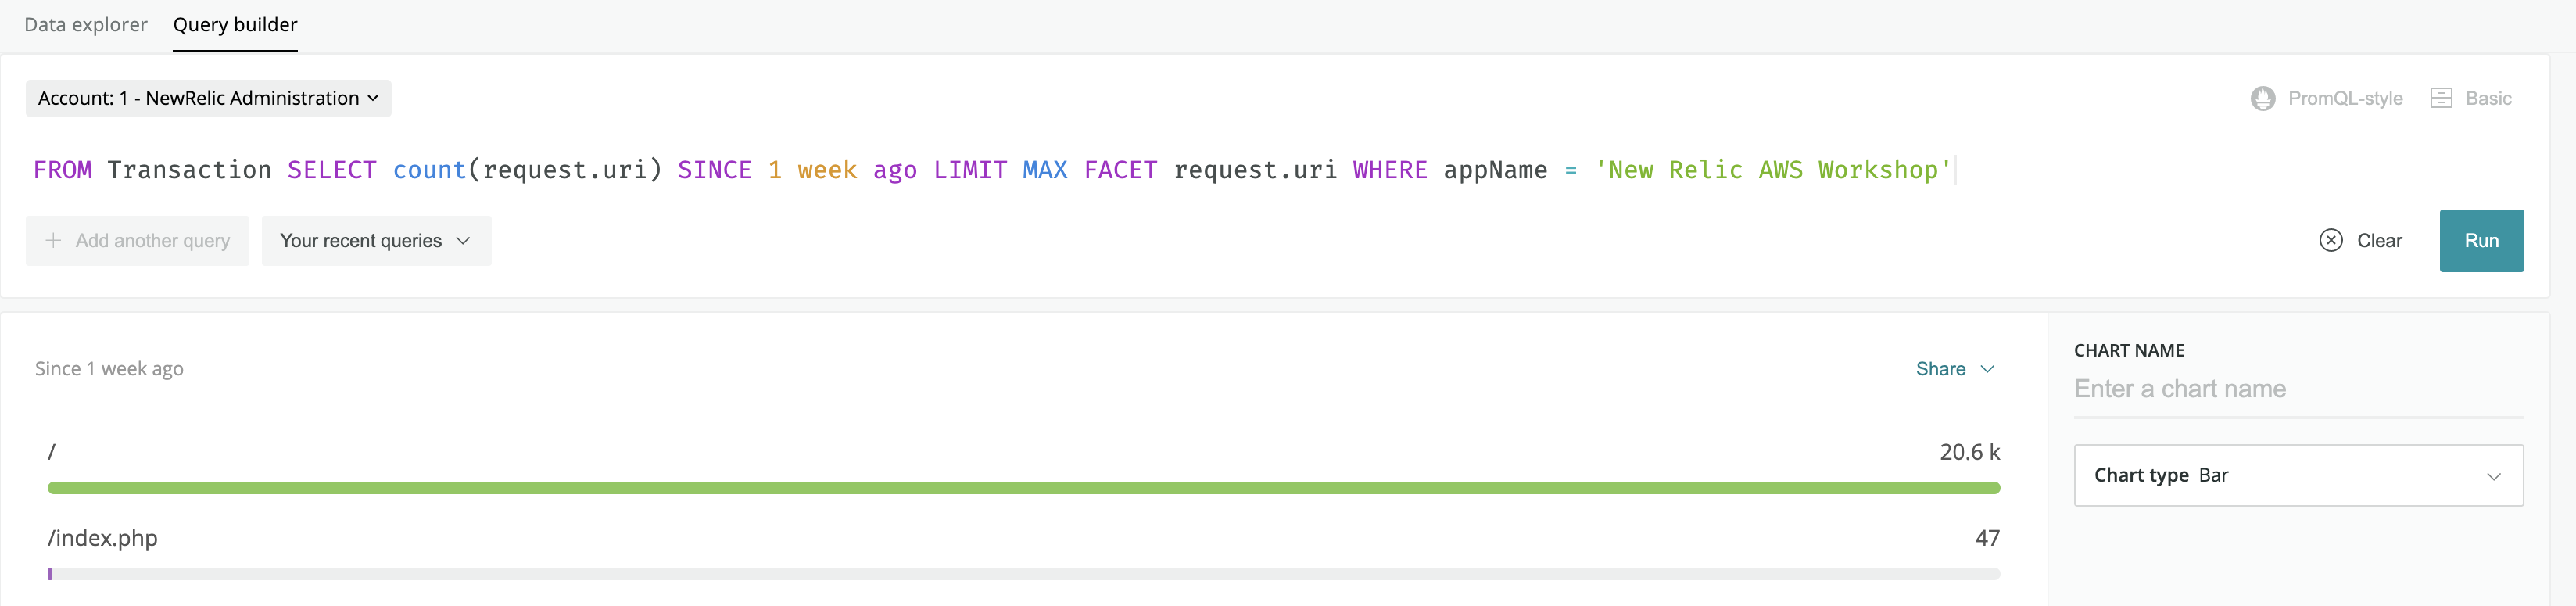
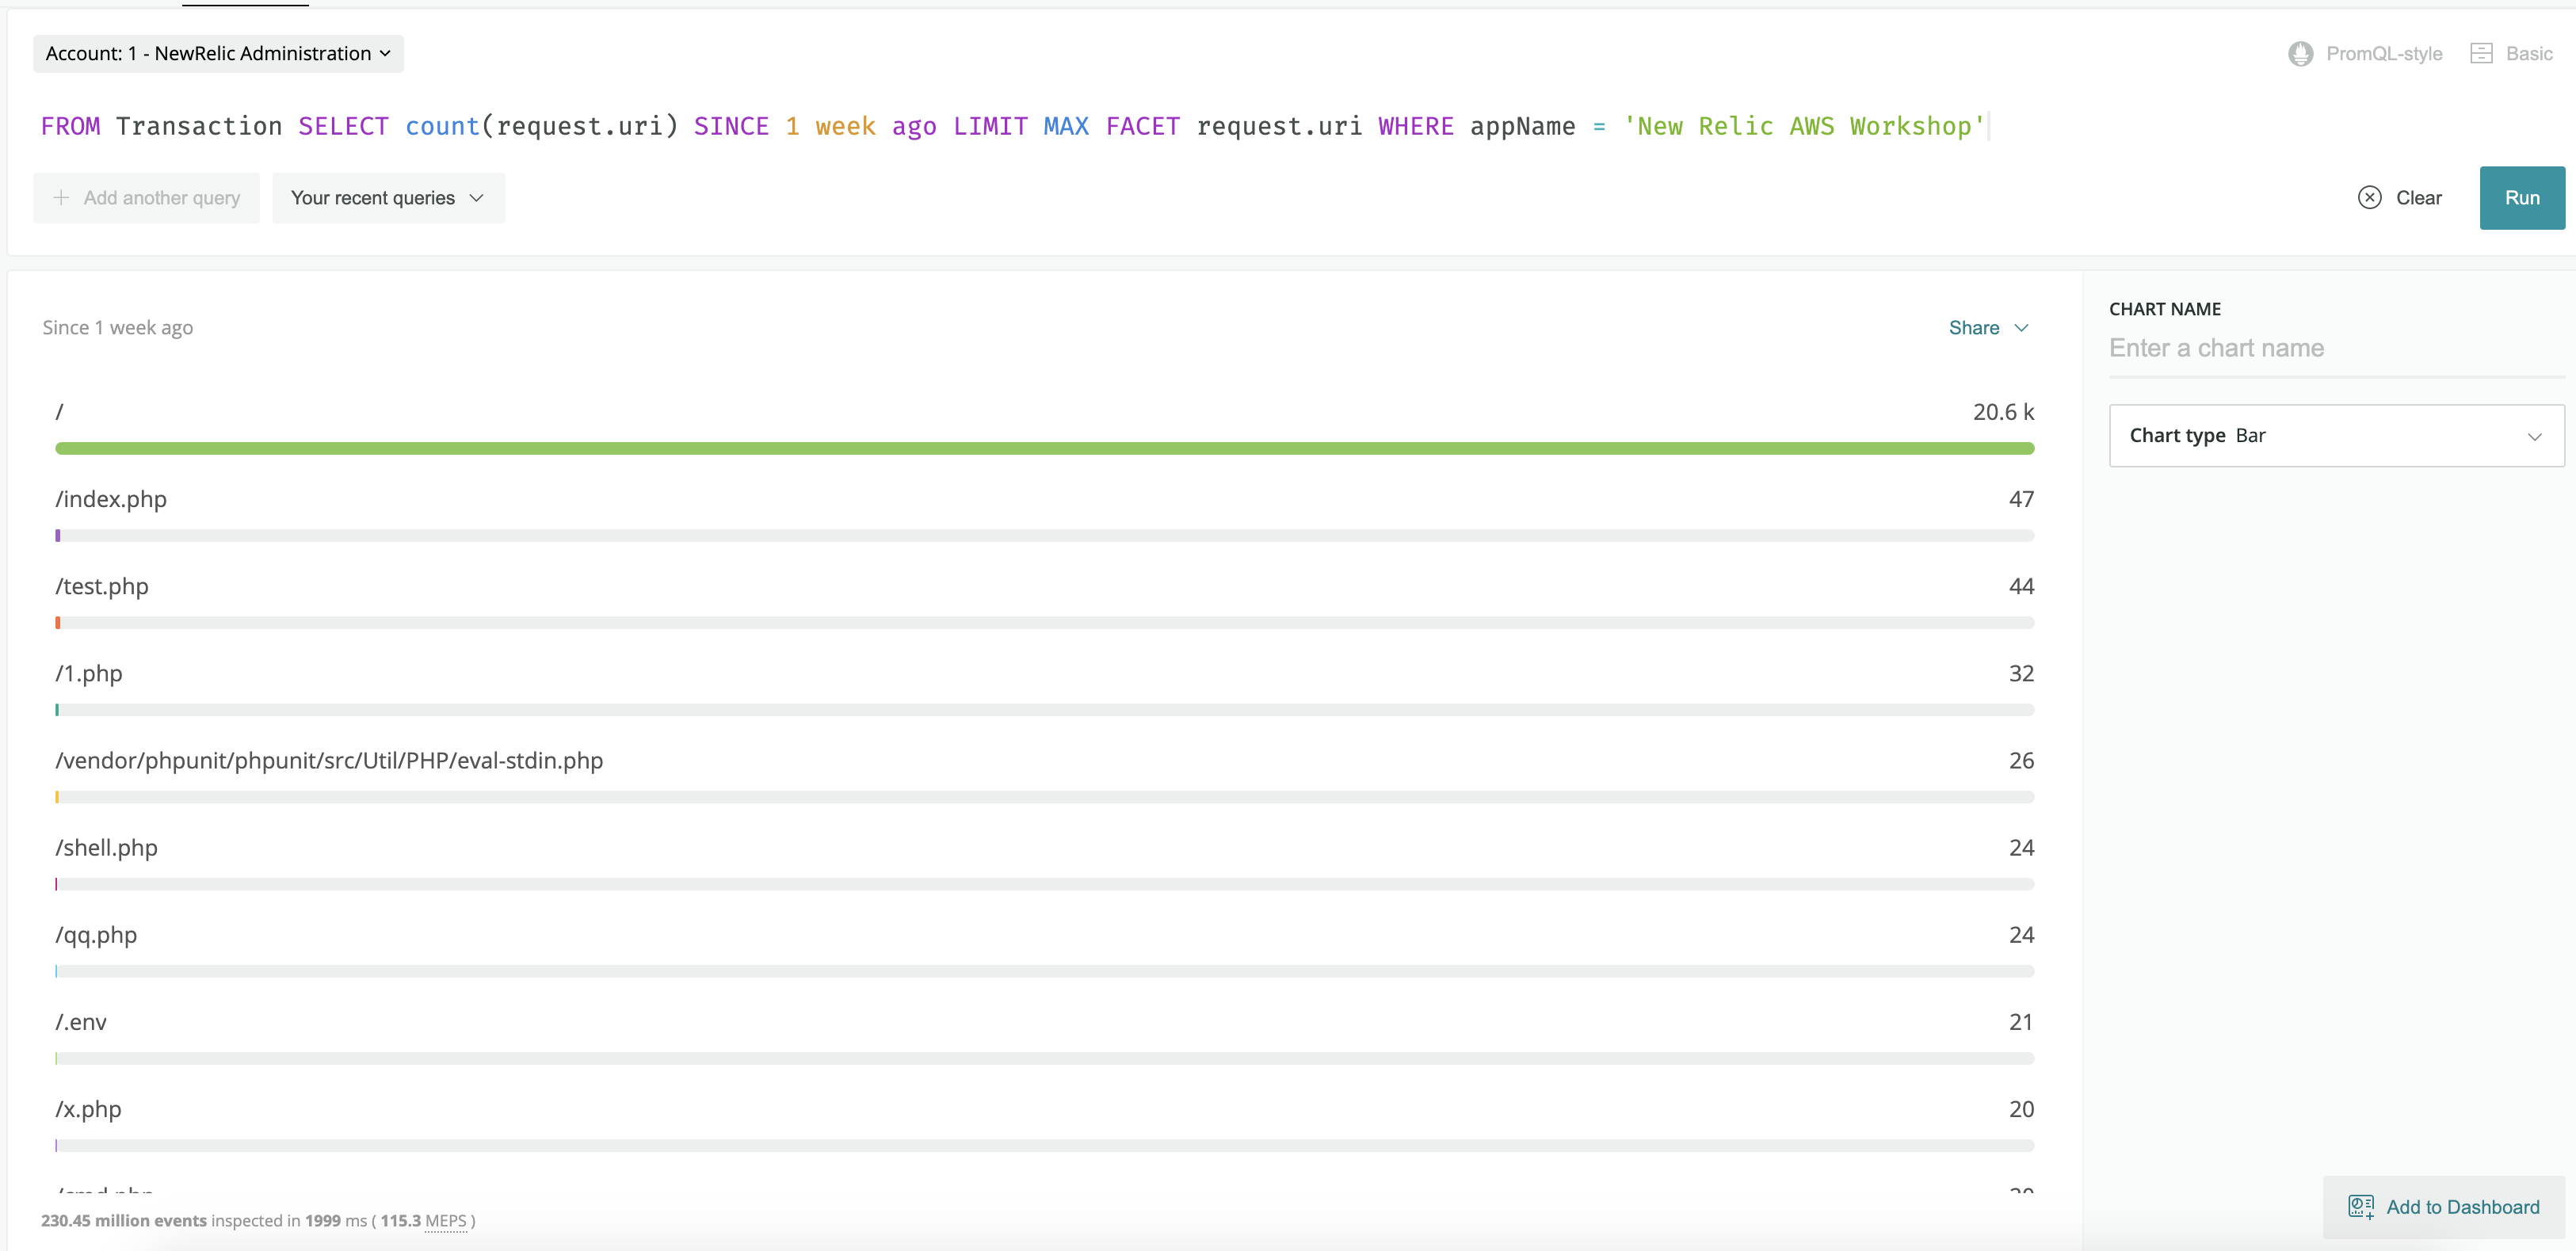
Congratulations! You have created a chart from a NRQL query! This simple bar chart shows the number of requests to the specific URIs of your applications over the past week. Feel free to click the Chart type dropdown and select a different chart type to visualize your data.
Moving on, let’s now add our newly created chart to a new dashboard. Click on the Add to Dashboard button at the bottom right hand corner of your screen:
Now, click on the New dashboard tab, enter any name you’d like for your dashboard under Dashboard title, and click the Add to dashboard button:
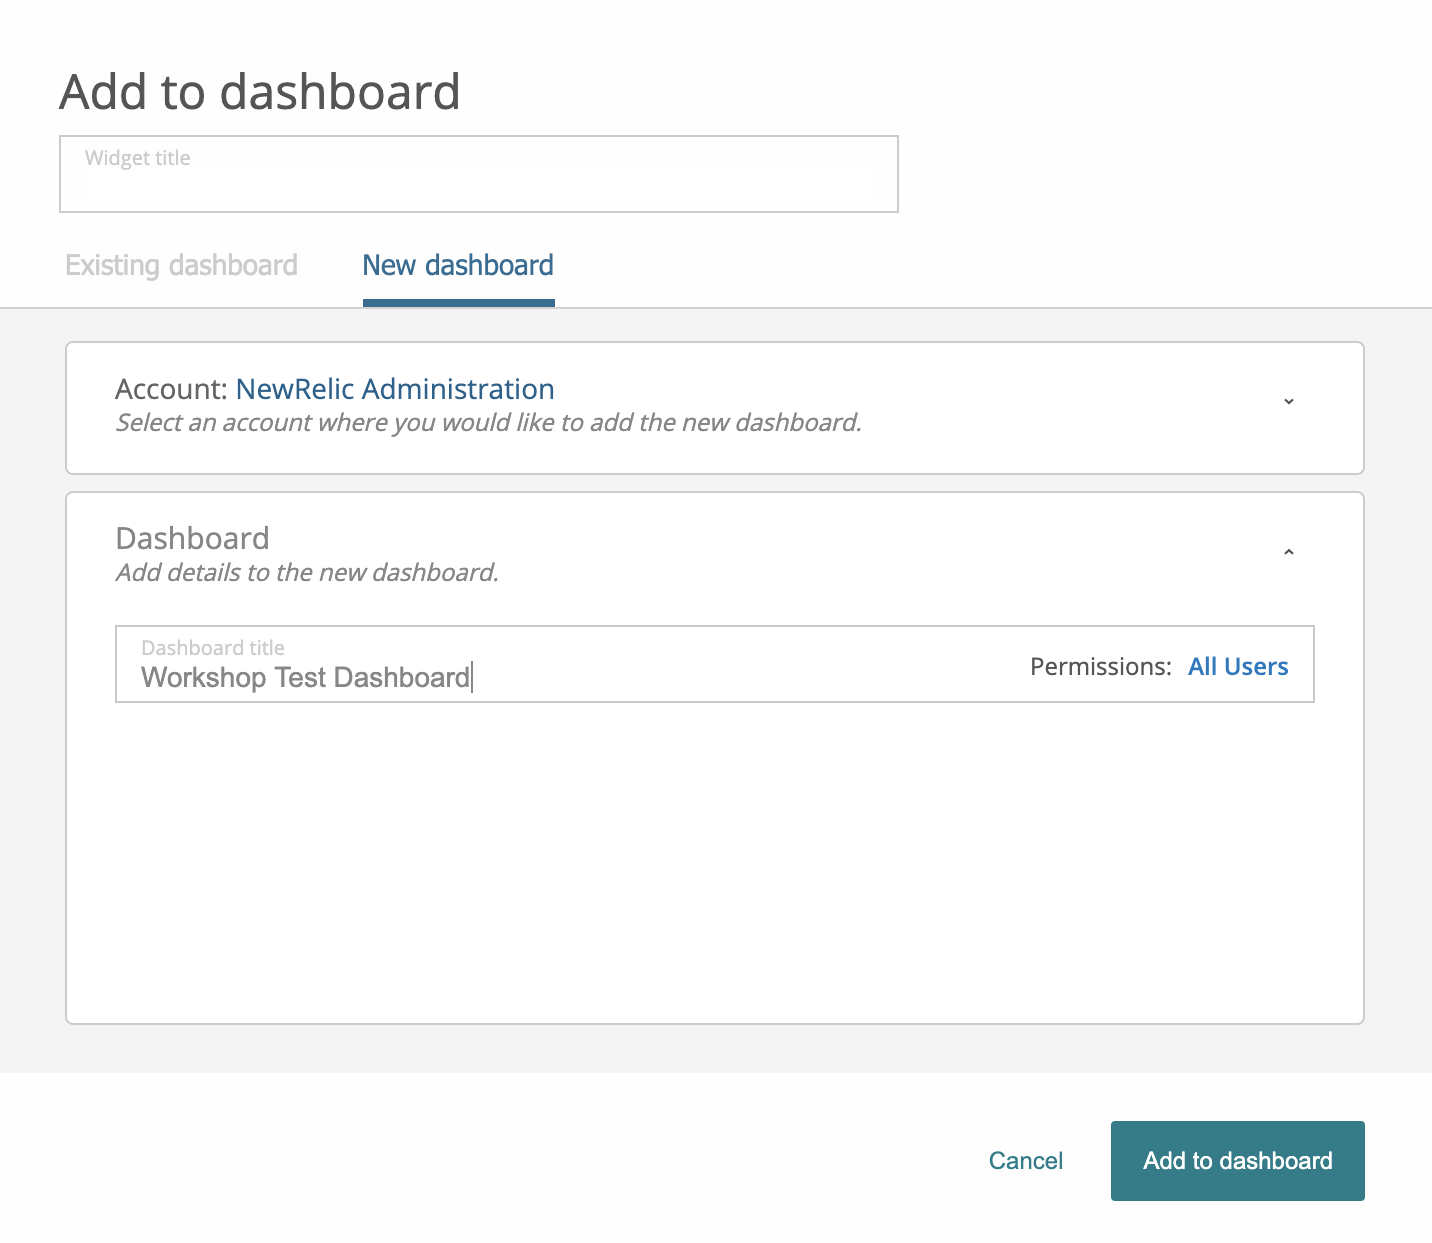
You will receive a popup in the top right hand corner of your screen allowing you to load your newly created dashboard; click on it:
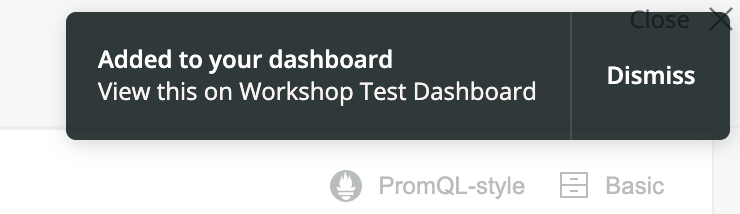
If the popup disappears before you had a chance to click it, simple navigate to https://one.newrelic.com and click on the Dashboards link at the top of the page.
An SRE assigned to view this dashboard would almost certainly like to know what hosts the application is running on. In this workshop, our application is fronted by an ELB, so let’s add a chart to our dashboard the shows the ELB’s URL. Click on the Plus icon at the top right hand corner of your screen:
Then click on Add a chart on the popout on the right hand side of your screen:

Paste the following NRQL query into the search bar and click the Run button:
FROM Transaction SELECT latest(request.headers.host) AS 'Current ELB URI' WHERE request.headers.host LIKE '%elb%' SINCE 1 week ago
Then click the Save button at the bottom right hand corner of your screen:
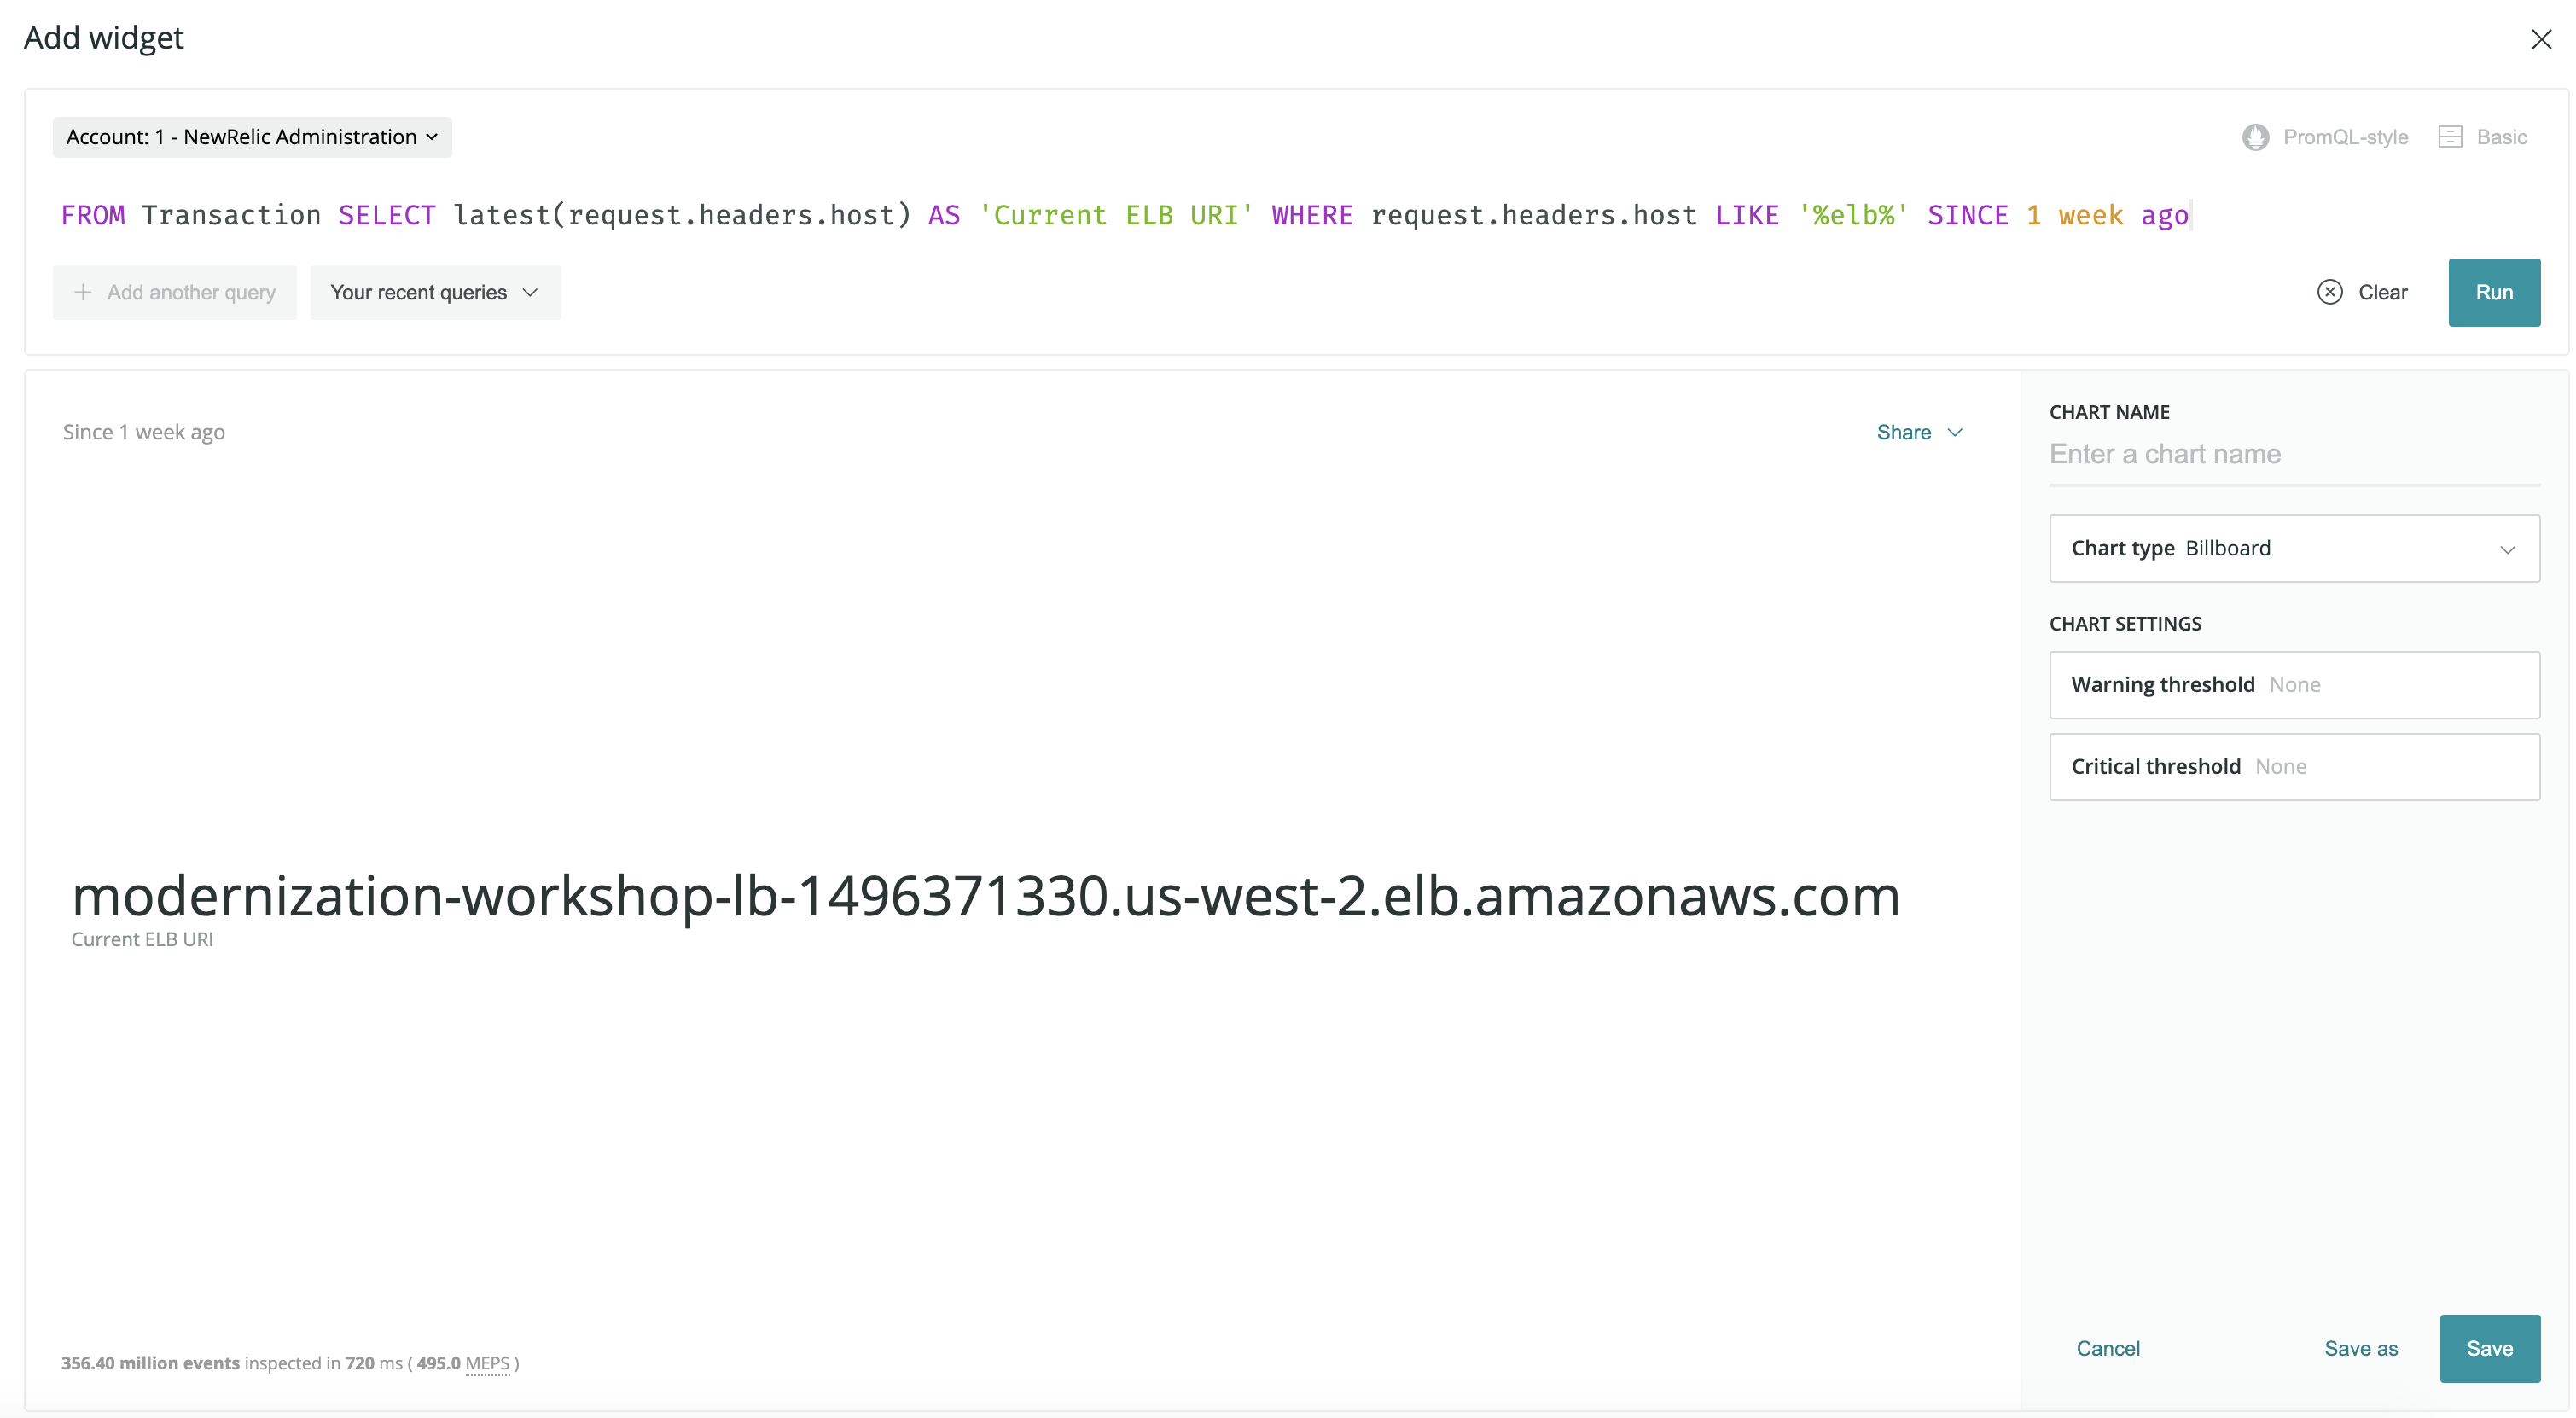
Congratulations! You have created a simple dashboard that shows your application’s most commonly accessed URIs and provides the ELB URL that fronts your application so that you can easily access those URIs.
In this section, we have scratched the surface on how Datalyzer can be used to analyze your application’s event data and subsequently used to create charts for dashboards out of that data. However, in the real world, dashboards can be quite complex and contain a multitude of charts. Recreating these from scratch can be quite time consuming. The good news is, dashboards can be exported to JSON and shared! We will dive into this in our next and final section of the workshop.